

A moving guideway needs more than a component that touches its surface: it needs contamination swept away without creating damaging drag or an unintended gap. By the end, you will know how to assess the brush action, specify the geometry and materials, combine the wiper with a cover, and identify wear before protection fails.
Key takeaways
- Match bristle material and stiffness to the contamination and guideway surface.
- Set light, continuous contact; excessive pressure increases drag and wear.
- Use bellows, covers, or scrapers when brushes cannot block heavy contamination.
- Inspect gaps, flattened bristles, and exposed way surfaces before protection fails.
How the brush clears contamination during axis travel
A brush wiper for way protection removes contamination by keeping flexible filaments in contact with a moving cover, guideway, or machine surface. As the axis moves, each filament bends around an interrupted edge or small gap and pushes contamination away from the protected way.
Independent filament movement handles geometric variation that a rigid scraper could bridge or miss.
During axis travel, effective cleaning depends on three details:
- The bristle tips sweep chips and swarf out of the travel path instead of letting them settle on the guideway.
- The contact line moves dust, abrasive particles, and coolant toward an available drainage or discharge route.
- The mounting position keeps falling contamination away from the brush line; a brush at the bottom of a pocket or behind a ledge can collect debris and feed it back across the way.
Use the brush as a secondary element behind a separate cover or labyrinth, not as the only barrier. It cleans the contact area but does not create a closed seal. Excessive bristle compression increases friction, drive load, heat, and wear; it can make the brush drag chips across the way.
Fine abrasive dust or hardened coolant residue can embed in the filaments, turning them into an abrasive slider. Clean or replace a brush that visibly retains that material.
Select bristles for the surface and the contamination
Choose bristles by matching the guideway surface, contamination, coolant chemistry, and operating temperature. A brush wiper for way protection needs enough flexibility to maintain contact without scratching the mating surface or packing with debris.
| Construction | Best match | Selection checks |
|---|---|---|
| Fine, dense nylon | Painted covers, hardened steel ways, coolant splash, and small chips | Low scratching risk; verify resistance to the coolant, alkaline cleaners, and maximum temperature. |
| Stiff nylon or polyester | Larger dry chips, swarf, and uneven cover surfaces | Greater stiffness improves reach into gaps but increases friction and drive load; use moderate compression. |
| PEEK or another high-temperature polymer | Hot machining zones or fluids that soften ordinary nylon | Confirm the supplier’s continuous-use temperature and chemical compatibility rather than relying on the material name alone. |
| Stainless-steel bristle | Sharp, heavy chips and elevated temperatures where polymer bristles lose stiffness | Keep it off precision ways, painted surfaces, seals, and sensitive coatings unless scratching is acceptable. |
Use short trim and high density for fine dust, but inspect the brush because grinding dust and metallic fines can embed in the filaments and create an abrasive strip. Use longer, more flexible bristles for uneven surfaces, then check that they do not fold over or leave gaps.
Mount the brush where chips and coolant drain away from the contact line, not at the bottom of a pocket. Set only enough compression to maintain continuous contact; excessive compression deforms tufts, drags chips across the way, generates heat, and accelerates wear.
Replace it when bristles shorten, tufts bend permanently, the holder loosens, or contact becomes intermittent.
Measure the guideway and set contact without excessive drag
Before ordering a brush wiper for way protection, measure the guideway, moving cover, available holder space, and the contact line at every position of travel. Set contact from the machine’s worst-case alignment, not from the nominal drawing.
1. Measure the protected width, contact length, end clearances, holder depth, and the cover’s full travel. Record steps, joints, bolt heads, radii, and changes in height that the brush must cross. Confirm that the holder will not collide with the guideway, cover, seals, or adjacent hardware.
2. Specify the brush geometry, not only its outside dimensions: free filament length, filament diameter, density, backing or retaining-strip profile, and the required installed compression. Compression means the reduction from the unloaded filament length to its mounted length; use the brush maker’s allowable range rather than guessing.
3. Check contact through the entire axis stroke. The brush must remain continuous against the moving surface without folding, lifting, or pressing hard enough to stall the axis. Excessive compression raises friction, heat, drive load, and wear, and can drag chips along the way.
4. Inspect the installation path for contamination traps. Avoid placing the brush at the bottom of a pocket or behind a ledge where chips and coolant collect; provide a discharge route and enough access for cleaning and replacement. Mount it as a secondary barrier with a cover, bellows, or labyrinth, not as the sole enclosure.
Combine the wiper with the right protection arrangement
A brush wiper for way protection improves a primary cover when it handles the contact line that the cover cannot close tightly.
Use it as a secondary barrier on telescopic steel covers, bellows, apron covers, and roll-up covers: the main cover blocks bulk chips and coolant, while the brush catches contamination at joints, overlaps, and machine gaps.
Choose the arrangement according to the exposure:
- Telescopic covers: place the brush at a segment joint or cover-to-way gap where chips could enter during extension.
- Bellows: add it at the moving end when folds alone leave a path for swarf or coolant.
- Apron covers: use it beside strip overlaps to catch debris without forcing the strips to carry all wiping contact.
- Roll-up covers: use it at the entry or exit edge where the rolled material meets the machine frame.
Do not install the brush at the bottom of a pocket or behind a ledge that collects debris. Direct chips and liquid toward a drain or ejecting path, or the brush will retain contamination against the way.
For splash-prone motion, combine it with a scraper lip, labyrinth, cover overlap, or second wiping stage because bristles are not liquid-tight.
When specifying an assembly from SCUTES INDIA PRIVATE LIMITED, give the supplier the cover type, joint location, coolant direction, and available mounting space. Set contact firmly enough to close the gap, but not so tightly that friction, heat, drive load, and wear increase or chips are dragged across the way.
Related product
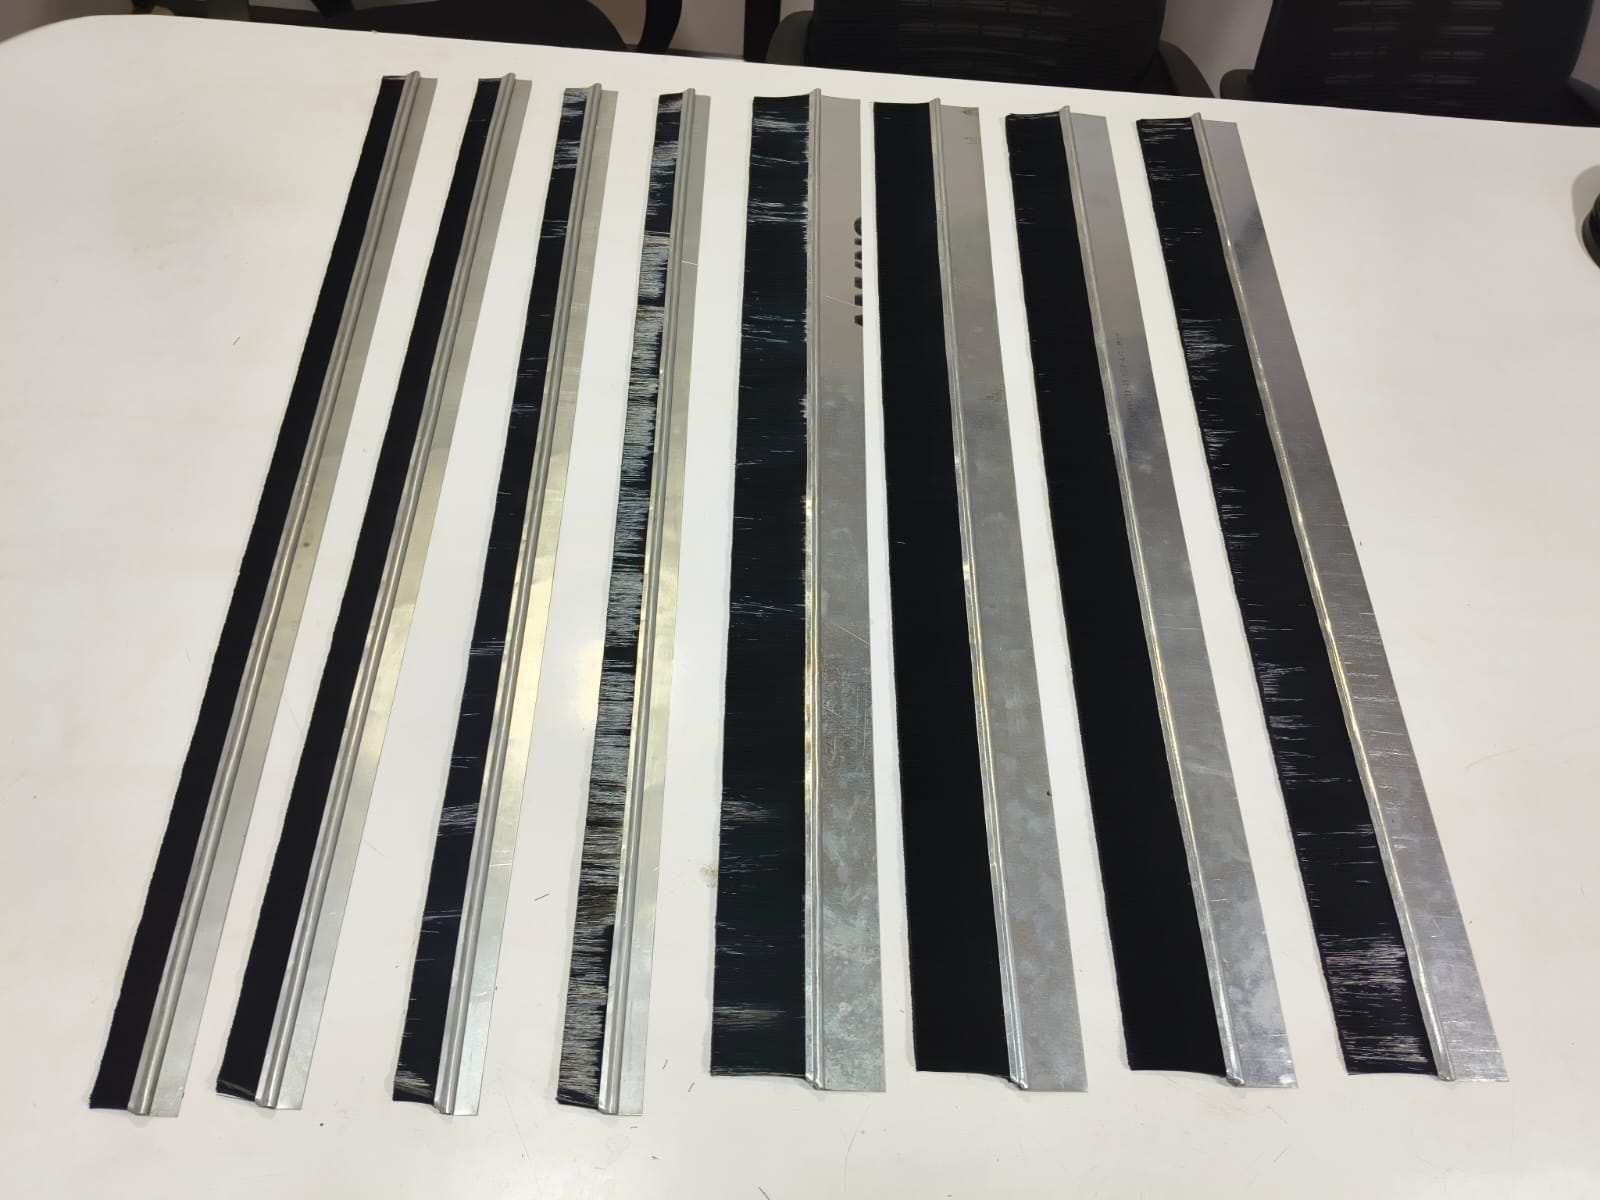 | NYLON AND METAL BRUSH WIPER Our Nylon and Metal Brush Wipers are high-performance industrial cleaning components designed for efficient wiping, cleaning, and surface finishing... View product → |
Inspect wear before contact and coverage are lost
A brush wiper for way protection has stopped working when its bristles no longer maintain a continuous, light contact with the moving surface. Chips can then pass through gaps, while excessive drag, heat, or a new drive-load increase signals that the brush is pressing too hard or carrying embedded abrasive.
- Stop the axis and inspect the full contact line, not only the accessible end. Look for shortened or missing bristles, permanently bent tufts, uneven gaps, and flattened sections.
- Check the backing and holder for a loosened retaining strip, cracks, distortion, or movement in its mounting. A secure-looking brush can still lift away from the way at one point.
- Look for packed chips, grinding dust, metallic fines, or hardened coolant residue. Fine abrasive particles trapped between filaments can turn the brush into a grinding tool.
- Run the axis slowly and watch for intermittent contact, snagging, chatter, or visible debris crossing the bristle line. Stop if the brush drags chips along the way instead of ejecting them.
Clean the brush when contamination is packed into the filaments or residue has hardened, using a method that removes particles without forcing them into the guideway. Replace it when bristles remain bent or shortened after cleaning, the holder is damaged, or continuous contact cannot be restored.
Replace it before exposed gaps allow contamination through; do not wait for a mark on the way.
Frequently asked questions
How does a brush wiper clear contamination during axis travel?
Flexible filaments stay in contact with the moving cover or guideway, bend around small gaps, and push chips, coolant, and dust away from the protected way.
How do you select bristles for a brush wiper?
Match filament material, diameter, length, and stiffness to the guideway surface and contamination. Use softer bristles for delicate surfaces and tougher filaments for abrasive chips.
How should you set brush contact without excessive drag?
Measure the guideway and adjust the brush for continuous light contact. Excessive compression raises friction, increases motor load, and accelerates bristle wear.
When should a brush wiper be combined with another protection method?
Add bellows, telescopic covers, scrapers, or seals when contamination is heavy, hot, abrasive, or likely to pass through the brush.
What should you inspect on a worn brush wiper?
Check for missing or flattened bristles, gaps at joints, hardened contamination, loose mounting, and exposed guideway areas during full axis travel.


