
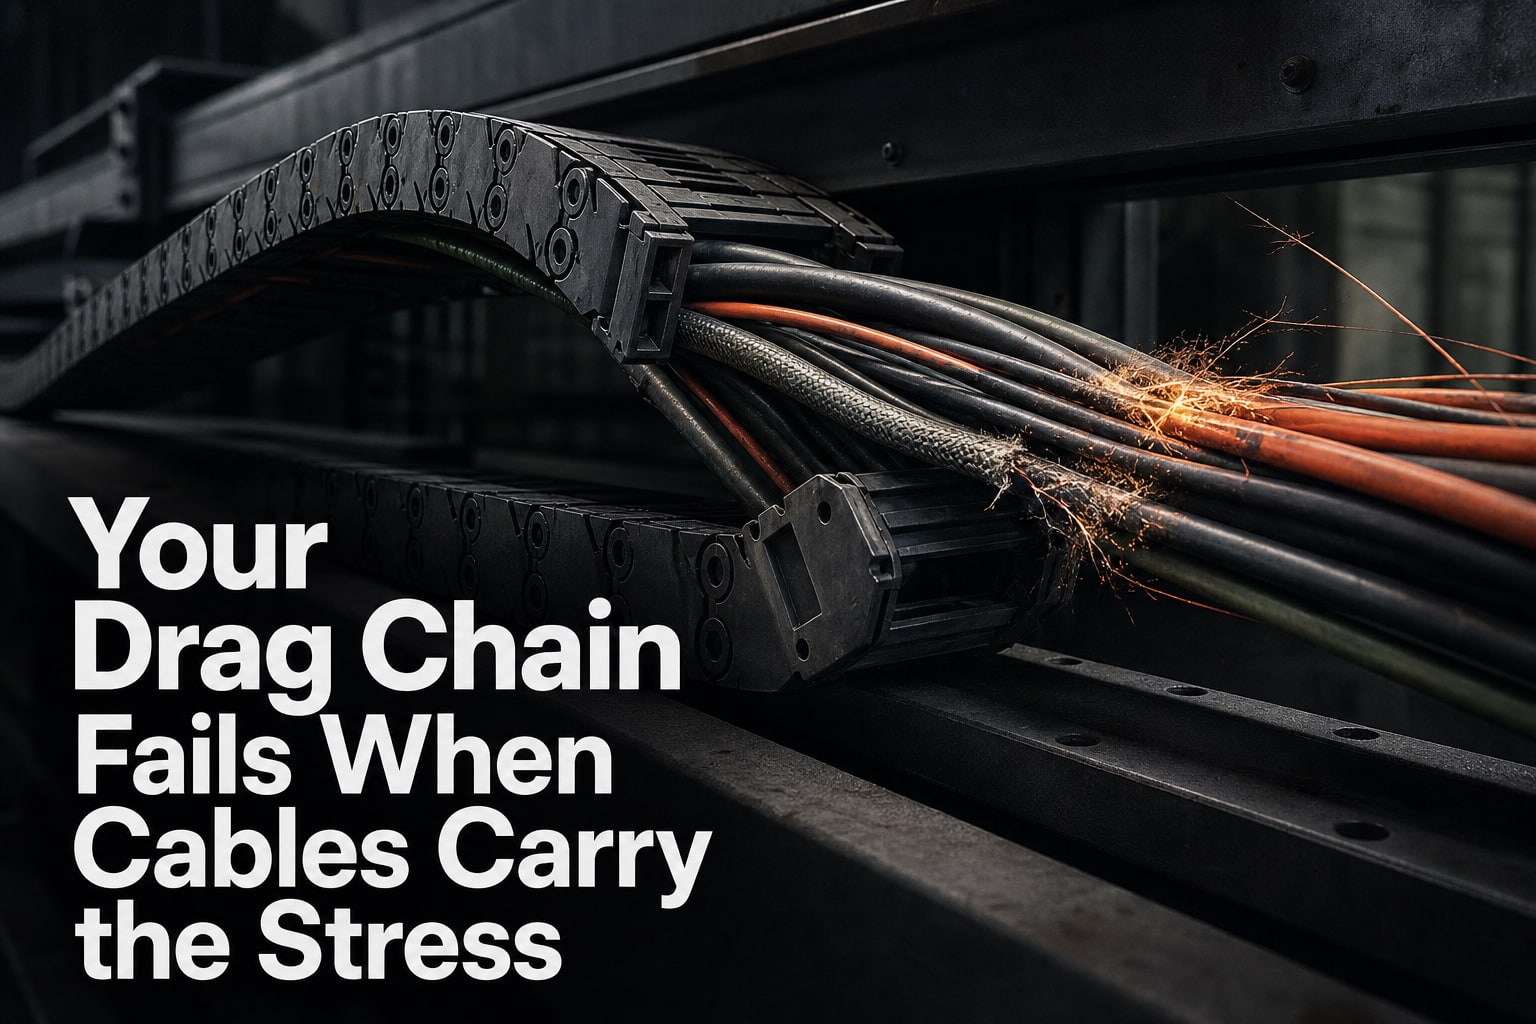
A drag chain fails when its radius, length, support, cable fill or end mounting is wrong, even if every cable fits inside it. You will be able to measure the machine, select a suitable chain, install cables without torsion, and test the assembly through its full travel before normal operation.
Key takeaways
- Measure stroke, fixed points, clearance, and unsupported span before ordering.
- Choose a bend radius larger than the stiffest cable or hose.
- Mount fixed and moving ends in line with the machine travel.
- Run the full stroke slowly and inspect cables after initial cycles.
Measure the machine and identify the chain ends before ordering
Before ordering a chain, record the machine’s actual travel and the space available for the moving loop. Measure the stroke, fixed-point location, unsupported span, available bend radius, and clearance around the proposed route. Do not treat the distance between machine connection points as the chain length.
1. Measure the cable and hose bundle, including its outside diameter, height, and width after arranging the lines without twist. Add space for separators; a packed bundle can rub, flatten, or prevent the chain from closing correctly.
2. Measure the chain route along the machine’s travel axis. Check the guide trough’s inside width and height, and confirm that it is wider than the chain without touching the bundle or restricting lateral movement.
3. Mark the machine’s fixed connection point and moving connection point on the drawing. Record which chain end attaches to each point, rather than relying on a photograph or supplier catalogue sketch.
4. Confirm the required bend radius against the largest cable or hose in the bundle. A smaller radius can kink lines even when the chain links articulate freely.
5. Check the mounting heights and bracket faces at both ends. They must be square to the guide and parallel to one another; unequal heights force the chain sideways and create rubbing, noise, and premature wear.
Unwind every cable tangentially from its coil and let it relax before measuring. Mark a longitudinal line along each cable so torsion becomes visible during the first cycles of drag chain installation for machines. Record every dimension on one drawing and give it to the chain supplier.
Calculate chain length, bend radius and support requirements
Choose the chain size from the largest cable or hose, then calculate length from the machine stroke, fixed-point location, bend radius and end clearances. For a standard half-travel arrangement, a starting estimate is chain length ≈ half the stroke + πR + end allowances, where R is the chain’s selected bend radius.
Use the chain manufacturer’s formula when the fixed point or routing differs.
Select R from the cable or hose with the largest specified dynamic bend radius, not from the chain’s outside dimensions. A tighter radius can fatigue conductors, damage shields and kink hoses.
Internal height and width must also leave room for natural cable movement; do not pack the bundle tightly or use it to pull the chain into position.
Use this decision check during drag chain installation for machines:
- Keep the calculated length close to the required geometry. An undersized chain reaches its end stop; excess chain adds weight and increases sag.
- Compare the unsupported span with the chain manufacturer’s free-span limit. If it exceeds that limit, add a guide trough, support rollers or a different chain series.
- Fit strain relief at both chain ends, outside the moving bend. Follow the cable supplier’s required straight length and clamp method.
- Support the chain and lines separately while fitting brackets, then run the machine through its full stroke without binding.
| Option | What it means | When it applies |
|---|---|---|
| Within free-span limit | The moving branch carries itself | Use the chain’s normal support surface |
| Beyond free-span limit | Sag can increase link and cable loads | Add a guide or support system |
| Uncertain routing | The standard length formula may be wrong | Have SCUTES INDIA PRIVATE LIMITED verify the chain geometry before manufacture |
Related product
 | Cable Drag Chain Cable drag chains are a vital component in modern industrial equipment and automation systems. View product → |
Shut down the machine and mount the chain correctly
Before drag chain installation for machines, stop the machine, isolate electrical and hydraulic or pneumatic energy, and apply the site lockout procedure. Remove covers, release stored pressure, and disconnect the cables and hoses from both machine connection points.
Label each line and support it separately; never use the cable bundle to pull the chain or use the chain as a lifting sling.
1. Confirm the fixed end and moving end from the chain markings or manufacturer’s drawing. Place the chain on its intended route with the bend opening in the correct direction, then align it with the machine’s travel axis.
2. Unwind each cable and hose tangentially from its coil rather than pulling from a coil standing on its side. Let the lines relax, keep them straight, and mark a longitudinal line on each cable so you can spot torsion.
3. Lay the chain in the guide trough without forcing it sideways. The trough must be wider than the chain, leave room for lateral movement, and never press against the cable bundle.
4. Mount the fixed and moving end brackets square to the guide and parallel to each other at equal heights. Do not force a skewed bracket into position with the chain; it causes lateral articulation, rubbing, noise, and premature wear.
5. Insert the lines without twist, maintain separation with the specified separators, and secure both ends. Move the machine slowly through its full stroke, checking for binding before powered operation.
Inspect the first cycles for migration, rubbing, flattening, kinks, link opening, noise, and sag. Recheck after the initial running period because lines can settle.
Route cables, hoses and separators without creating stress points
During drag chain installation for machines, place each cable or hose in its compartment with its natural lay. Do not pull the chain with the bundle or use the chain as a lifting sling.
Support the chain and lines separately, fit both end brackets, then run the moving branch through the complete stroke to confirm it does not bind.
Unwind each line tangentially from its coil, not from a coil standing on its side. Let it relax before insertion, and mark a longitudinal line along the jacket; movement of that line during the first cycles reveals retained twist.
- Give every line enough clearance to move inside its compartment without pressing against a separator or neighbouring line. Avoid tight packing, which restricts bending and traps heat.
- Install separators when lines have different diameters, when a heavy hose could press on a smaller cable, or when the lines must stay in a fixed order.
- Keep cables and hoses beside one another rather than stacking them where one can crush another during bending.
- Make the moving branch run on its intended guide or support surface. If the unsupported span exceeds the chain maker’s free-span limit, add a trough, rollers or a suitable chain series; never remove sag by tightening the lines.
Inspect the first cycles for migration, rubbing, flattening, kinks, unusual noise, link opening and excessive sag. Recheck after the initial running period, because settled lines can occupy a new position. Vertical, side-mounted, circular or highly accelerated travel requires orientation-specific load data and support guidance.
Run the full stroke and inspect the first operating cycles
Run the complete machine stroke at low speed, then inspect the drag chain and its contents at both travel limits. During drag chain installation for machines, confirm that the neutral bend stays clear of each end bracket and that the chain moves without binding.
1. Move the machine by hand or at low speed before applying normal acceleration. Stop at each end and check that the links remain aligned, do not twist or open, and do not strike the frame, covers or brackets.
2. Watch the unsupported span for excessive sag, sudden drooping or flattening of the bend. A short chain can reach its end stop; an overly long or overloaded chain adds sag and dynamic load.
3. Check separators and guide surfaces for shiny rub marks, cut insulation, hose scuffing and unusual noise. Rubbing at one location identifies misalignment, an obstruction or a bundle that is too full.
4. Mark a longitudinal line on each cable before the trial. If the line spirals or shifts, the cable retained torsion; cables should unwind tangentially from their coils and relax rather than being forced into the chain.
5. Observe cable and hose positions through repeated cycles. Migration toward one end, crossing, kinking or a separator pressing into a line signals inadequate restraint or excess internal fill.
Run the machine through its initial operating period, then repeat the inspection. Lines settle inside the chain, changing their position, sag and contact points after the first cycles. Record photographs, noise, rubbing locations and any change in cable marks before approving normal speed and acceleration.
Frequently asked questions
What should you measure before ordering a drag chain?
Measure the machine stroke, fixed-point location, unsupported span, available bend radius, and clearance around the proposed route. Do not use the distance between connection points as the chain length.
How do you calculate drag-chain length and bend radius?
Use the machine’s travel and loop geometry to determine chain length, then select a bend radius that exceeds the minimum bend radius of the stiffest cable or hose. Check support requirements for the unsupported span.
How should you mount a drag chain?
Shut down and isolate the machine, then mount the fixed and moving ends in line with the travel direction. Keep the chain level, aligned, and clear of nearby machine parts.
How should cables and hoses be routed inside a drag chain?
Separate cables and hoses with the chain’s separators, allow each item to move freely, and avoid tight ties, crossing, compression, and sharp stress points.
What should you inspect during the first operating cycles?
Run the full stroke slowly, then inspect the chain, cable positions, bend loop, mounting points, and clearances for rubbing, twisting, pinching, or excessive tension.